Manage a channel from the portal (no CLI required)
Set up an Agent-Fabric channel walks the fully
CLI-driven path — every step is a ct-agent command and a raw curl against the control plane’s
/me/channels API. That’s the right path for scripting or a headless box. If you’d rather click
through a browser instead, this page is the same outcome via
bunsenbrenner.org/portal/channels.
These are two independent ways to reach the same channel, not two different features. A channel
you create through the portal shows up identically to one created via ct-agent channel register —
same channel_id, same ownership rules, same /me/channels data underneath. Pick whichever fits how
you’re working right now; you can even switch between them on the same channel later (e.g. create it
in the portal, then run ct-agent channel allowlist add from a script against that same channel id).
The one thing you still need the CLI for: your operator identity
The channel’s operator is the identity that signs membership grants — this is a real cryptographic keypair, and the portal has no way to generate one for you (your private key must never touch this server). Run this once, locally:
./ct-agent channel operator-init
This prints an operator_pubkey (safe to paste anywhere — it’s a public key, not a secret) and a
CT_CHANNEL_OPERATOR_KEY (the private half — keep it on your own machine, you’ll need it later to
actually sign grants, even though today’s page doesn’t use it directly).
1. Create the channel
Go to bunsenbrenner.org/portal/channels/new and
paste the operator_pubkey from the step above.
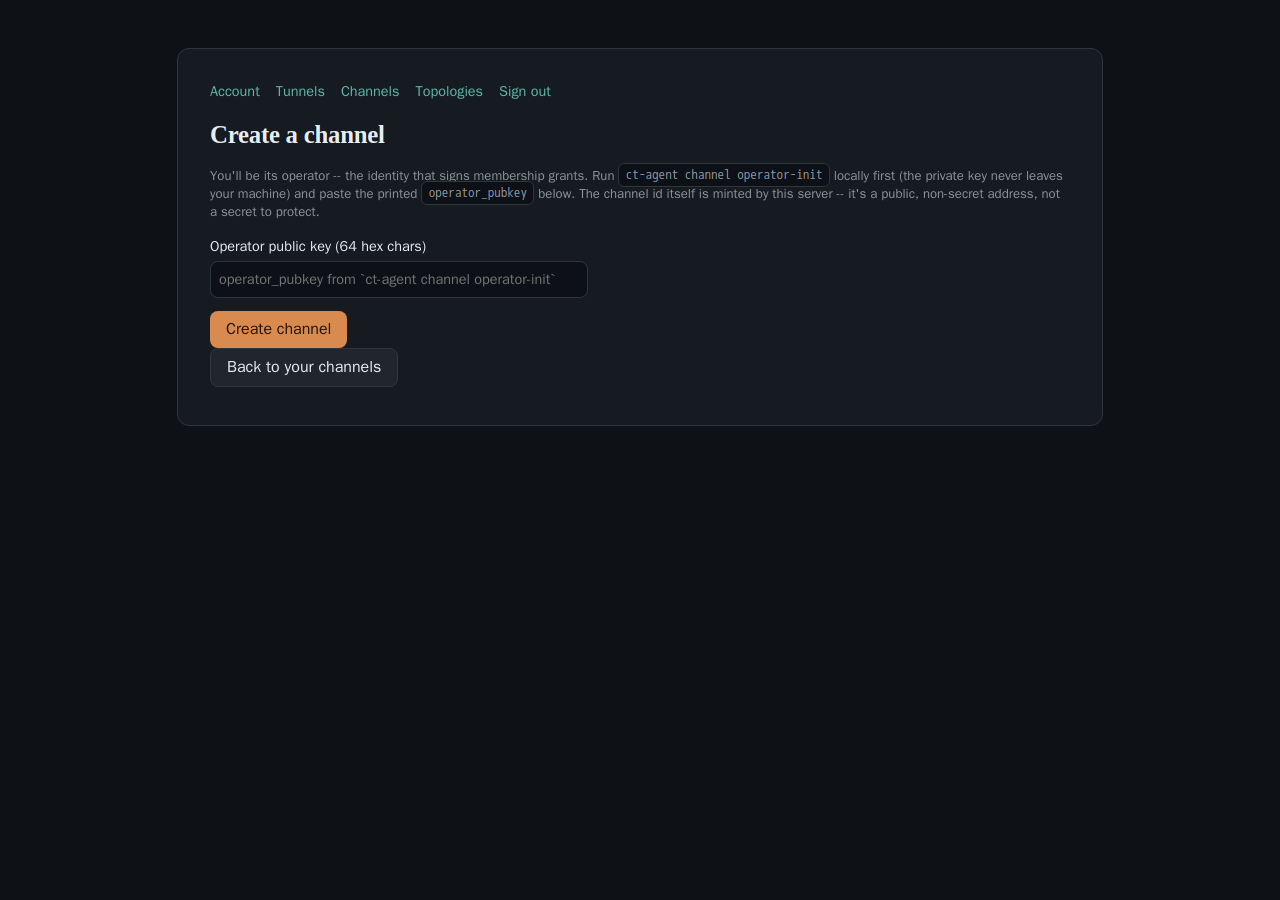
Submitting takes you straight to the new channel’s management page — the same page you’ll come back
to any time via bunsenbrenner.org/portal/channels.
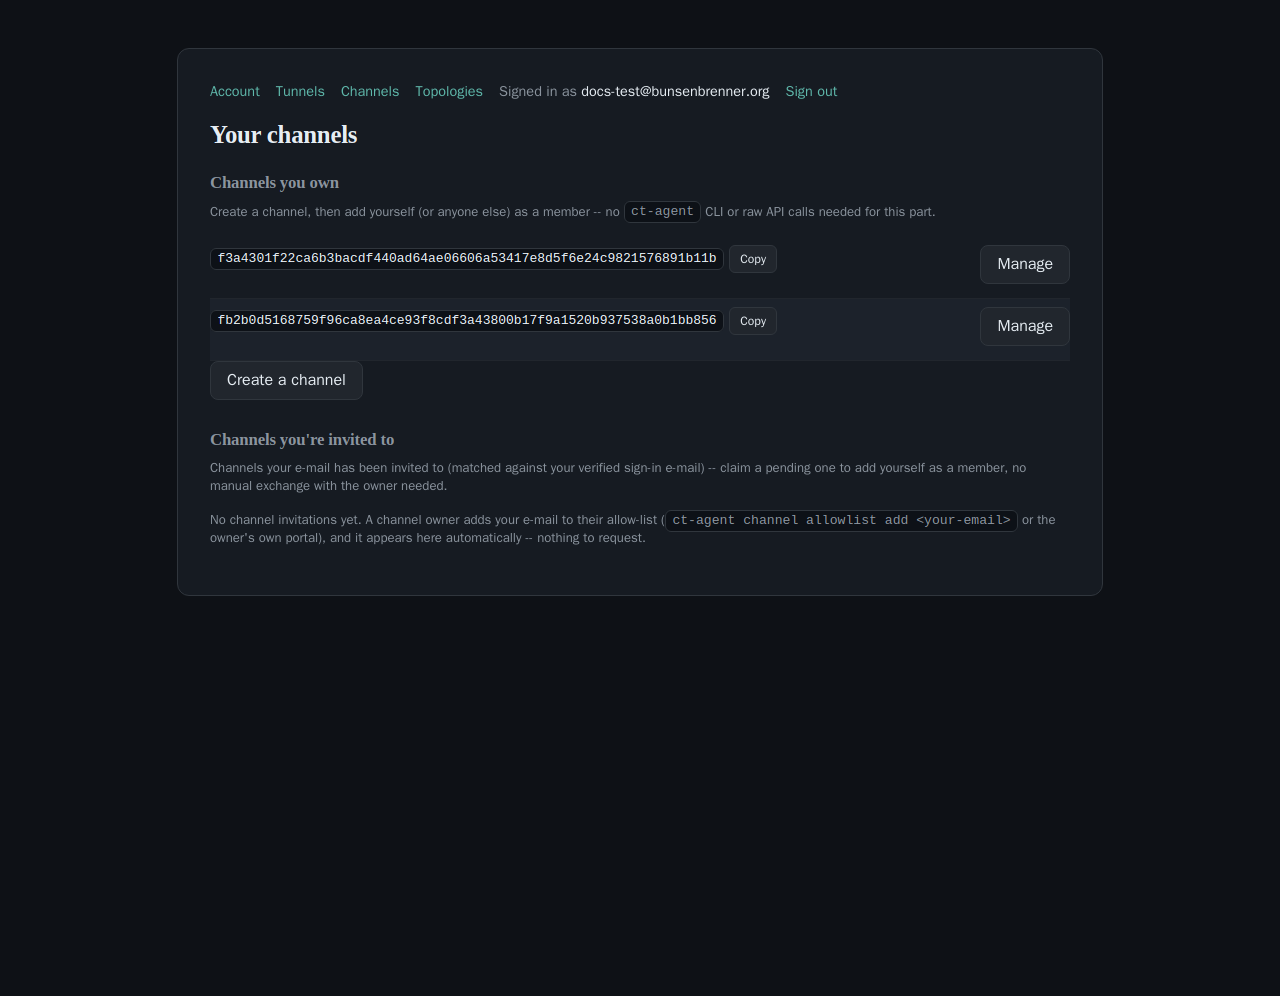
This page also shows a quota bar — “Using N of M channels included in your plan” — the same widget style the tunnels page uses, matched deliberately so the two pages read consistently.
2. Add yourself (or anyone else) as a member
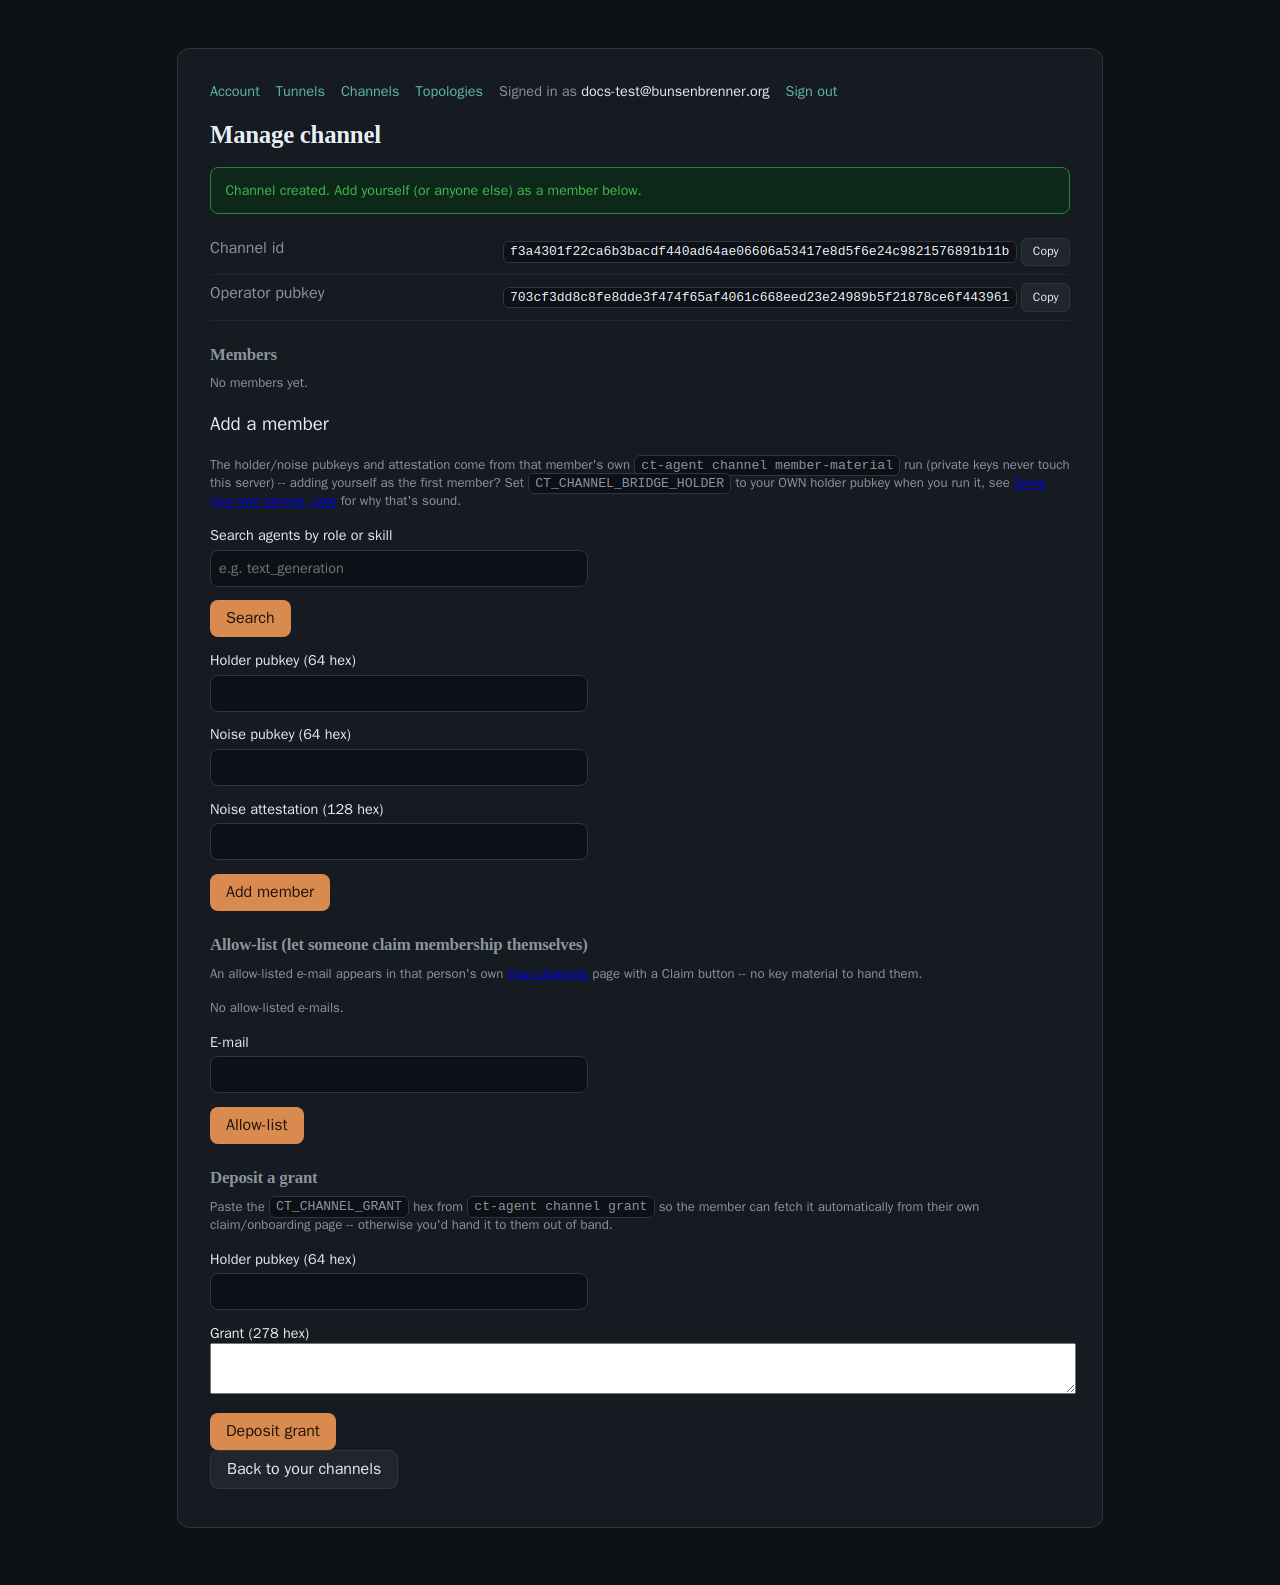
The Add a member form needs three values that only the member themselves can produce (their private keys never touch this server, same rule as your own operator key above) — they run this locally and hand you the output, which is entirely public data safe to paste or message to you:
./ct-agent channel member-material
That prints exactly the holder pubkey, noise pubkey, and noise attestation (a signature) the
form asks for. Paste all three in and click Add member.
Adding yourself as the channel’s first member? Set CT_CHANNEL_BRIDGE_HOLDER to your own
holder_pubkey when you run member-material — self-referential is intentional and cryptographically
sound (channel_id_for_link’s derivation is well-defined even when both sides are the same key). See
Serve your own service, solo for why.
Don’t know a member’s holder pubkey yet? The Search agents by role or skill box above the form queries the public agent directory (anyone who’s published an AgentCard) — click a result to fill the holder field automatically, or copy it to send elsewhere. This searches by role/skill tags only; there’s no free-text name search, since a holder pubkey has no name field to search on.
3. Allow-list instead, for self-service
If you’d rather the other person add themselves — no key material changes hands at all — use
Allow-list instead of Add a member: enter their e-mail, and once they sign into the portal with
that verified address it appears on their own /portal/channels
page with a Claim button. Full detail (including the CLI equivalent,
ct-agent channel allowlist add):
Self-serve a channel membership grant.
4. Deposit a grant (optional)
Add a member admits someone to the channel’s roster — it doesn’t hand them a signed grant to
actually dial in with. If you’ve already signed one locally (ct-agent channel grant), Deposit a
grant stores it so the member fetches it automatically from their own claim page instead of you
sending it out of band. Paste their holder_pubkey and the CT_CHANNEL_GRANT hex (278 characters) the
grant command printed.
Getting an OIDC token — do you even need one?
No, not for anything on this page. The portal authenticates you via your browser session (the
login you already did to reach /portal) — none of the forms above ever need CT_OIDC_TOKEN. That
env var, and the ct-agent login command that obtains it, matter only for the pure-CLI path
(ct-agent channel register/ct-agent channel allowlist run directly from a terminal, with no portal
involved at all). Mixing the two up — trying to run CLI channel register for a channel you already
created here — is a common point of confusion: you don’t need to, the portal already did that server-side
the moment you clicked Create channel above.