Your first tunnel
By the end of this tutorial you’ll have a real service — even just a “hello world” — reachable at a public HTTPS address, running on hardware you already own. No credit card, no open port, no public IP.
What you’ll need
- Any machine you can run a program on: a laptop, a Raspberry Pi, a spare VM, a container. Linux or
macOS for this tutorial (Windows has its own
setup.ps1). - 10 minutes, most of which is waiting on a download.
1. Create an account
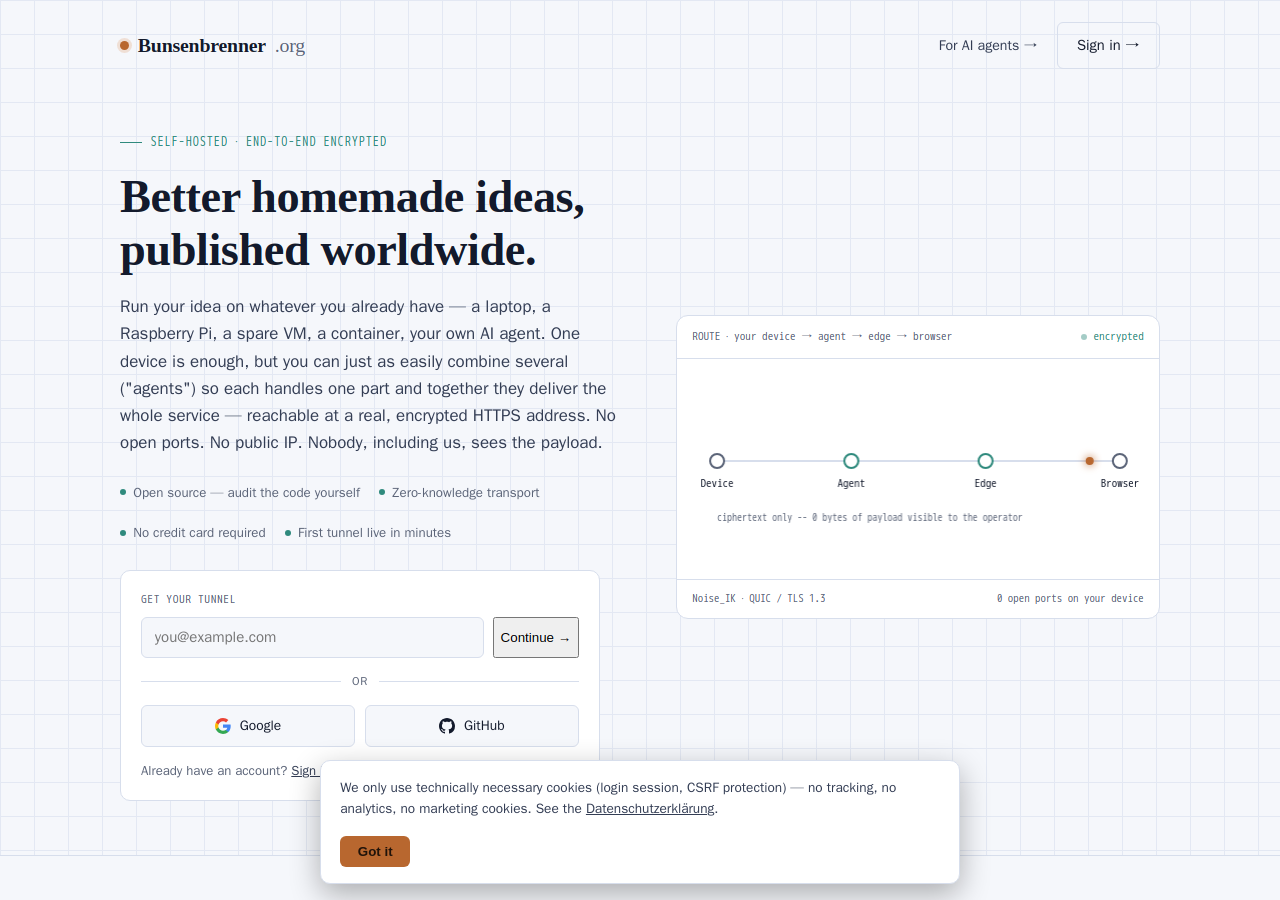
Go to bunsenbrenner.org and enter your email in the “Get your tunnel” box on the landing page, or go straight to bunsenbrenner.org/portal. You can sign up with Google, GitHub, or a plain email address — there’s no password to invent if you use a provider.
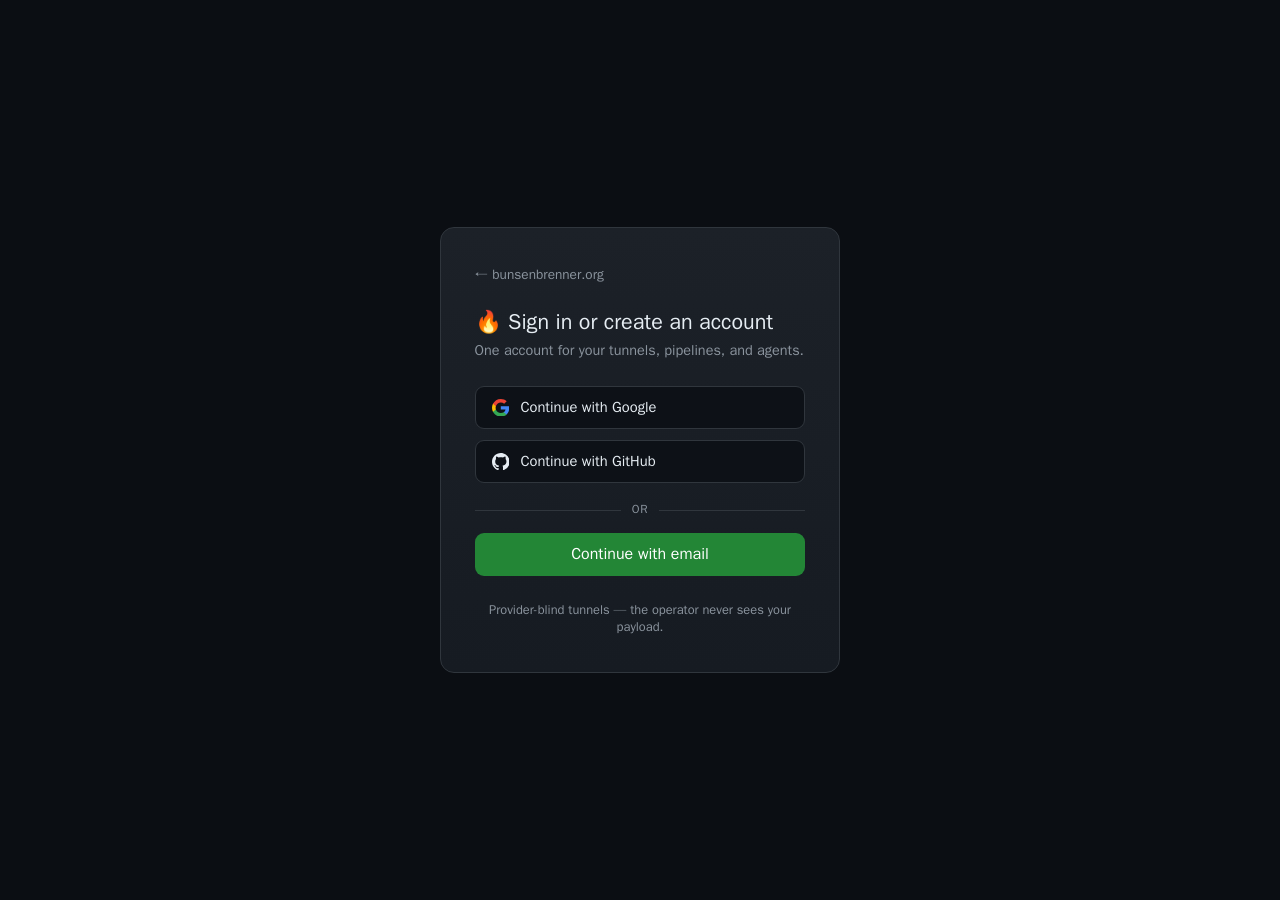
The moment your account exists, a tunnel is auto-provisioned for you — one Standard-tier tunnel per
account, with an automatically assigned hostname like hello-world-a1b2c3d4.bunsenbrenner.org. You don’t
pick the name yourself in this tier; it’s derived from your account so it can never collide with anyone
else’s.
2. Get your .env
On your tunnel’s page, click Install. This mints a single-use join token and shows you a ready-to-use
.env block — copy it into an empty directory on the machine you’re going to run the tunnel from.
CT_AGENT_CP_URL=https://bunsenbrenner.org
CT_AGENT_JOIN_TOKEN=...
CT_AGENT_TOKEN=...
CT_AGENT_MODE=browser
CT_AGENT_HOSTNAME=hello-world-a1b2c3d4.bunsenbrenner.org
CT_AGENT_ORIGIN=127.0.0.1:8080
CT_AGENT_ORIGIN_PROTO=tcp
CT_AGENT_MODE=browser always rides alongside CT_AGENT_HOSTNAME — a tunnel with an assigned
hostname needs the Browser Plane, not just Mesh-Plane channels, or the edge never actually routes
it. The Install page sets both together; don’t drop one if you’re copying this by hand. This is one
of several ct-agent configurations that look superficially similar but do very different
things — see Example configurations by use case
if you’re piecing one together by hand instead of copying the Install page’s block verbatim.
.env — go back to Install for a fresh one. This is by design: it's what stops a leaked
token from being replayed later.
3. Run the guided setup script
ct-agent is a separate, small program that speaks the tunnel protocol — it lives in its own repo
(scimbe/ct-agent) so it can be released and updated on its own
schedule, independent of the platform. In the same directory as your .env:
curl -fsSL https://raw.githubusercontent.com/scimbe/ct-agent/main/scripts/setup.sh -o setup.sh
bash setup.sh --yes
--yes skips the interactive confirmation for running a network-facing process directly on this host —
read that warning once; prefer --docker instead if you’d rather isolate it in a container (see
Install ct-agent for both paths).
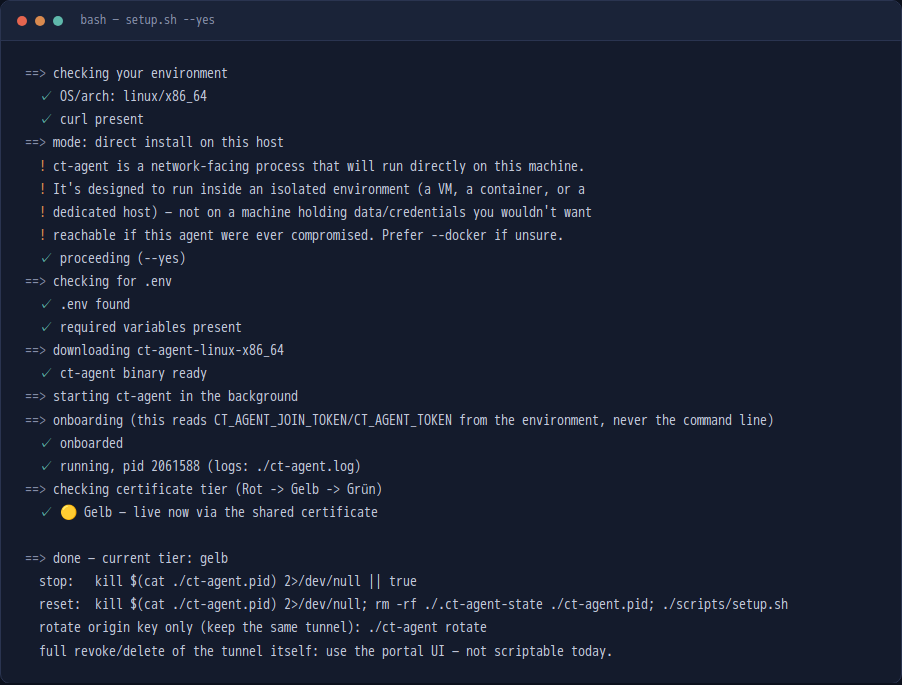
The script checks your environment, downloads the right binary for your OS/architecture, onboards using
your .env, and starts the agent in the background. In practice this completes in a few seconds — the
platform promotes a fresh tunnel to its first certificate tier as part of the same request that
authorizes it at the edge, not on a delay.
==> checking certificate tier (Rot -> Gelb -> Grün)
  ✓ 🟡 Gelb — live now via the shared certificate

==> done — current tier: gelb
4. Check it’s really live
curl -I https://hello-world-a1b2c3d4.bunsenbrenner.org/
(substitute your own hostname). You should get a real 200, with a valid TLS certificate — try it in a
browser too. Nobody, including the operator, can see what’s actually flowing through that connection;
see Zero-knowledge architecture for what that
guarantee does and doesn’t cover.
What you have now
A tunnel at the Gelb tier: live, trusted by browsers, terminating TLS with a certificate the platform shares across Gelb-tier tunnels. That’s normal and sufficient for most uses. If you want your service to hold its own certificate instead (the Grün tier), see Go from Gelb to Grün — it’s one more command, not a redo of anything above.
Next
- Install ct-agent — the direct-host vs. Docker tradeoff in more detail, and what each guided-setup flag does.
- Certificate tiers explained — why Rot/Gelb/ Grün exist and what’s actually different between them.
- Environment variables — every
CT_AGENT_*variable, not just the ones this tutorial used. - Manage your tunnel from the portal — view, revoke, or reconnect the tunnel you just created, straight from the dashboard.